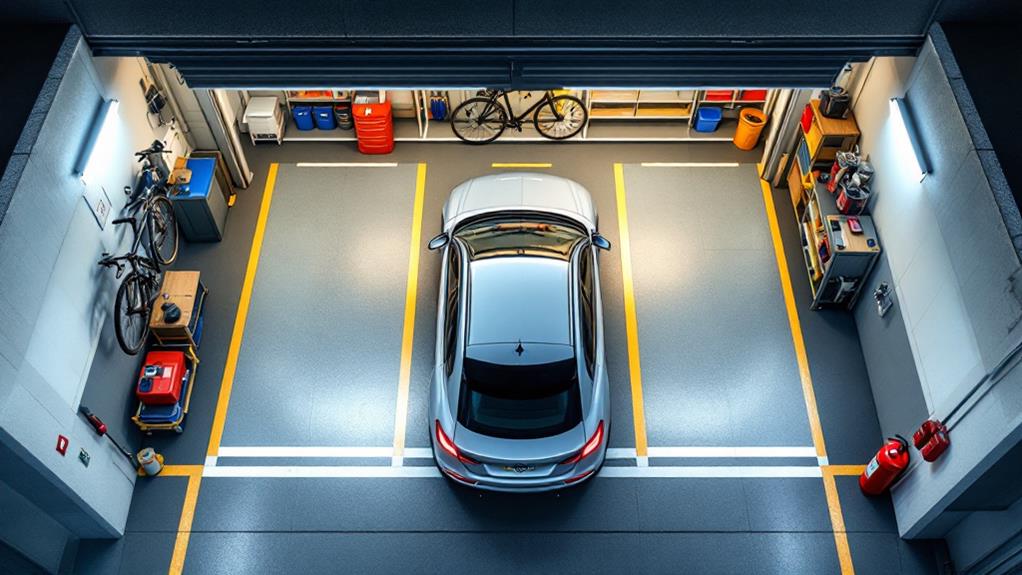
How to Add a Parking Sensor System to Your Home Garage

To add a parking sensor system to your home garage, start by choosing an ultrasonic sensor system with multiple distance zones for detailed feedback. Gather essential materials like an Arduino board, ultrasonic range finder, and tri-color LED. Install the sensors and control module by connecting components to the Arduino and mounting them in a small enclosure. Wire the system to a power source and guarantee all connections are secure. Finally, test and calibrate the sensor's range, adjusting detection thresholds and mounting position for ideal performance. With these steps, you'll be on your way to creating a reliable parking aid that enhances your garage's functionality.
Choosing the Right Sensor System
When choosing a parking sensor for your home garage, several key factors come into play. First, consider an ultrasonic sensor system, which offers excellent close-range detection and accuracy. These sensors use sound waves to measure distance, making them ideal for garage parking assistance.
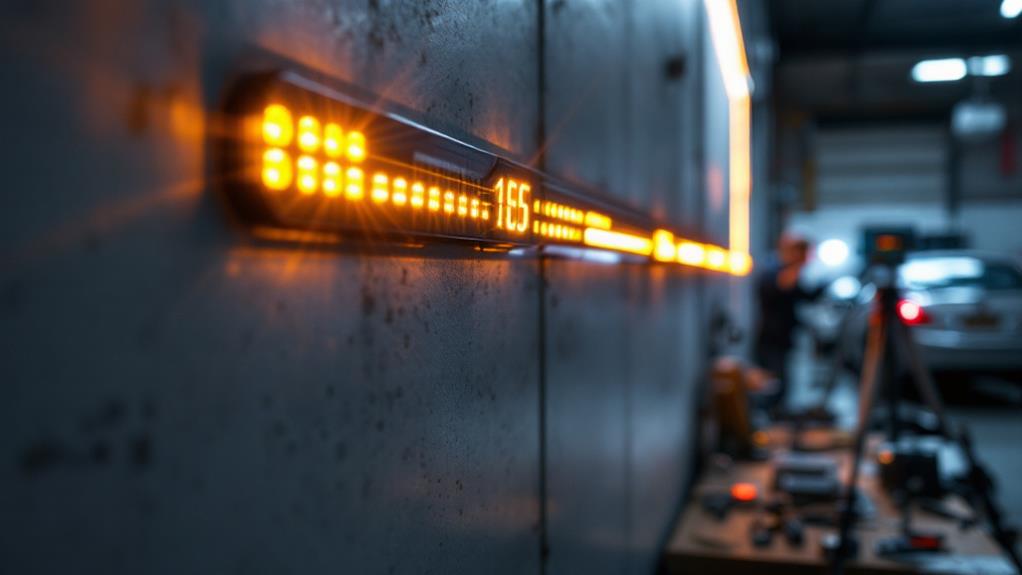
Look for a system with multiple distance zones, such as green, yellow, and red. This feature provides more detailed feedback as you park, allowing you to gauge your vehicle's position more precisely. A wireless sensor system is another smart choice, as it eliminates complex wiring and offers flexibility in placement.
Select the sensor that has adjustable mounting height. This feature accommodates different vehicle sizes and ensures optimal positioning for accurate readings. A range finder with integrated visual indicators or the ability to connect to existing garage lighting will provide clear, intuitive feedback during parking.
Consider a system that offers both audible and visual cues. This combination enhances your awareness of your vehicle's position relative to obstacles. By carefully evaluating these features, you'll select a parking sensor that best suits your needs and improves your garage parking experience.
Gathering Tools and Materials
Now that you've selected the right sensor system, it's time to gather the tools and materials for your DIY garage parking sensor. You'll need an Arduino Duemilanove board, which will serve as the brain of your parking sensors. To detect your vehicle's distance, you'll use an ultrasonic range finder. Don't forget to grab some wire and a breadboard for connections.
For housing your components, you'll need a small box. A 9V power supply will provide the necessary juice for your garage parking system. To indicate distance visually, you'll use a tri-color LED. In the end, you'll need a hot glue gun to secure everything in place.
Once you've gathered these items, you'll begin by hot gluing the Arduino board to the bottom of the box and connecting the power supply. You'll then wire the ultrasonic range finder to the Arduino, connecting its 5V and ground lines, and its pulse cable to a PWM input. The tri-color LED will be connected to three digital pins on the Arduino. After programming and testing, you'll seal all components within the box, creating a compact and efficient parking sensor for your garage.
Installing Sensors and Control Module
Your garage's new parking sensor system is ready for installation. Begin by connecting the ultrasonic range finder sensor to your Arduino board. Use the 5V and ground pins for power, and connect the pulse signal to a designated digital pin. This setup forms the core of your parking sensor system.
Next, mount the Arduino and ultrasonic sensor inside a small enclosure. Use hot glue to secure these components in place, ensuring they won't shift during operation. Program your Arduino to measure the distance from the sensor and control the tri-color LED based on the parking distance.
Once you've sealed the enclosure, it's time to mount it on your garage wall. Position the sensor and LED where they'll be easily visible to you as you park. This placement is essential for the system's effectiveness.
Before finalizing the installation, thoroughly test your parking sensor system. Verify that the LED colors accurately reflect the distances measured by the ultrasonic sensor. Make any necessary adjustments to guarantee reliable performance.
With these steps complete, you've successfully installed a custom parking sensor system in your garage. This DIY solution will help you park with precision and confidence, making the most of your garage space.
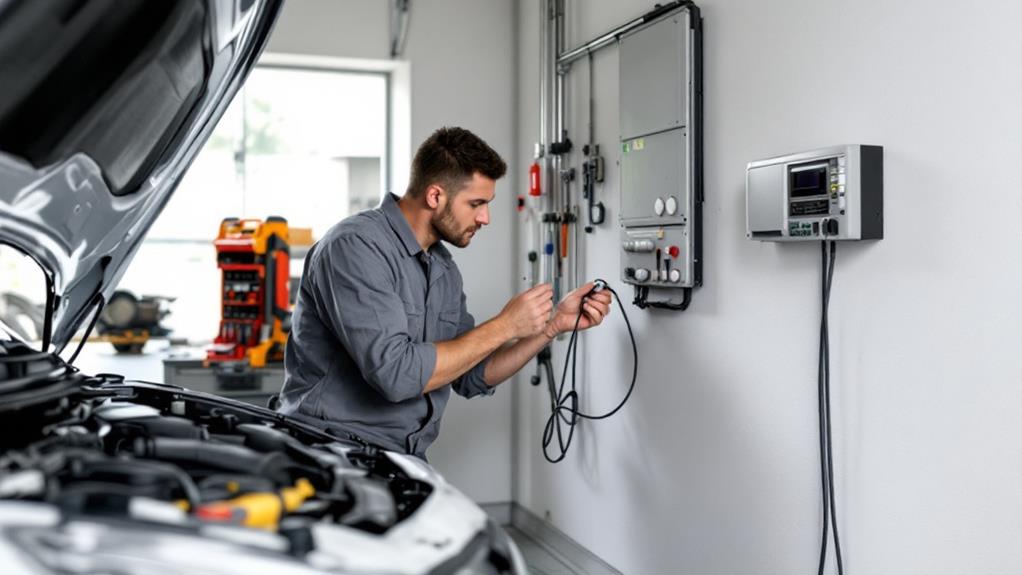
Wiring and Power Connection
Hooking up the power and wiring connections is indispensable for your parking sensor system's functionality. Begin by connecting your Arduino board to a 9V power supply using the barrel jack connector. This DC voltage will provide the necessary power for your parking sensor system.
Next, wire the ultrasonic range finder to the Arduino. Connect it to the 5V and ground pins to make sure proper power distribution. The pulse output from the range finder should be connected to digital pin 7 on the Arduino, which will receive distance data for your parking system.
For visual feedback, wire the tri-color LED to digital pins 11, 12, and 13 on the Arduino. This will allow you to control the LED's color based on the distance readings from the range finder.
As you complete the wiring process, make sure all connections are secure. Double-check for any loose wires that could cause malfunctions in your parking sensor system. Once you're confident in the connections, you can proceed to seal the project in its enclosure. This step is obligatory for protecting your system from dust and moisture in your garage environment.
Testing and Calibration
With the wiring complete, it's time to guarantee your parking sensor system functions accurately. Testing and calibration are essential two parts of the installation process. Begin by verifying the sensor's range and accuracy. Place objects at known distances and confirm that the readings match. Next, calibrate the detection thresholds to guarantee the sensor triggers at the desired distances for parking.
Check that the LED color indicators correspond correctly to the measurements. For instance, a red light should illuminate when you're too close to an obstacle. Adjust the sensor's mounting angle and position to optimize its coverage area in your garage. This may involve tweaking the sensor's orientation to capture the ideal square wave signal.
Perform integration tests with your parking assistance system to confirm seamless operation. This includes verifying that all components work together smoothly. Don't forget to test the system under various lighting conditions and with different types of obstacles. By thoroughly testing and calibrating your parking sensor, you'll create a reliable system that enhances your parking experience and protects your vehicle from accidental bumps.
Related posts